
Beer in a cellar? Isn’t it supposed to keep wine and not beer? Beers are supposed to be drunk as you bought them, right?
Yes, it can be confusing. Even researching it on the internet will return almost every search result with wine cellar, but you don’t have to worry.
In this article, you’ll understand everything you need to know about beer types, when it’s best to drink them, and how to store them to get the best flavors.
Let’s jump into it, shall we?
Beers to Drink Now
Most people won’t even care if beers should be drunk later. They’ll just drink it right after getting them which is mostly fine for all types of beers. But if you want to get the best out of anything, you’ll need to spend some time to know it better.
Indian Pale Ales (IPAs), Pales Ales, and dry-hopped or web-hopped beers are the ones you can drink straight out of the bar. It’s the same with wheat beers, blond ales, Pilsners, Helles lagers, Kolsch, Hefeweizen, English IPAs, and the majority of red, amber, and brown ales.
Beer flavors for these types of beers, which are usually bottled and exposed to light, may oxidize and fade. So you can best enjoy drinking them fresh and straight out of the bottle or can.
Beers to Drink Later
The best things are worth waiting for, and that is true even with beer. It may be odd to age beer as you may usually do with wine, but there are certain benefits that you can get out of it. Let’s first learn which beers can be aged.
Referring to the ABV or alcohol by volume, those with at least 8% alcohol by volume (ABV) with strong maltier flavor, old ales, Belgian-style beers, barleywines, and imperial stouts are the best ones that become flavorful as they age. Also, because of their phenols and lactic acids, lambics, and gueuze are lower-alcohol options that will age well too.
Brettanomyces-brewed beers, which ferment some sugars more slowly, also develop nicely. In addition to other high-ABV beers with black malts, rauchbiers, and barrel-aged sours also mature wonderfully.
Benefits of Keeping Beers In A Cellar
So, what do you get from resisting drinking your beer? Here are a few things you can consider.
It will taste better. The alcohol effect that makes you drunk will lessen and gets replaced with caramel, fruitiness, and toffee flavors as it ages. Beers that have darker malts would develop port and sherry taste.
Sherry and roasted malts come out of amber-colored malts and would taste like chocolate. Anti-oxidants are present in roasted malts too. So, it allows for some enjoyable beer-drinking sessions as it slows down aging for anyone who drinks it.
Meanwhile, aged Belgian-style beers can take on tobacco, leather, and vanilla aromas from their yeasty, earthy qualities.
On the other hand, oak tastes from barrel aging are a rare constant feature that holds up well over time. The perception of barrel qualities may become more apparent as other tastes mature or intensify. The vanilla flavor will gradually fade, while elements like coconut and cinnamon usually persist.
Aged and Ready to Drink?
You’ve decided to age your beer, good. Now, when can you drink it?
Wait for at least a year to drink it. You can bring it further to 6 months, another year, or five years more. It depends on your preference at this point.
For specific beer types, like porters, you can only let it mature up to 5 years, but most Belgian-style beer can age up to 12 years. While sours, gueuzes, and lambics can wait up to 10 years. But barleywines and imperial stouts can mature for more than 20 years.
Before you wait further, check how it tastes after a year or so. If the beer starts losing its flavor, you can drink it and stop aging it further. Keep going if the malts acquire a sherry flavor, the hops get fruitier, or the ingredients concentrate more.
Tips Before Building a Beer Cellar
Before picking up your hammer to create your beer cellar, there are a few things you need to know first.
A constant, uniformly chilly temperature at around 50-55 degrees Fahrenheit range is essential for efficiently keeping your beer. This portion should be simple for you if you live somewhere regularly cold.
If you don’t have nature’s help to cool your cellar down, or worse, if you live somewhere with constantly changing weather, you would need to invest in cooling equipment and a temperature monitor.
Next thing, your beer has to be in the dark. As mentioned in this article, exposing the beer to ultraviolet light or any kind of light makes it lose its quality.
Lastly, you’ll need to have a place where your beer containers can stay upright. The cloudy yeast sediment settles at the bottom of the bottle when beer is vertically positioned and prevents oxidation better. Thus, it is best to keep it upright as it ages.
How to Build a Beer Cellar Step-by-Step
Now’s the time to pick up that hammer and do the fun part of building your beer cellar.
Step 1: Location
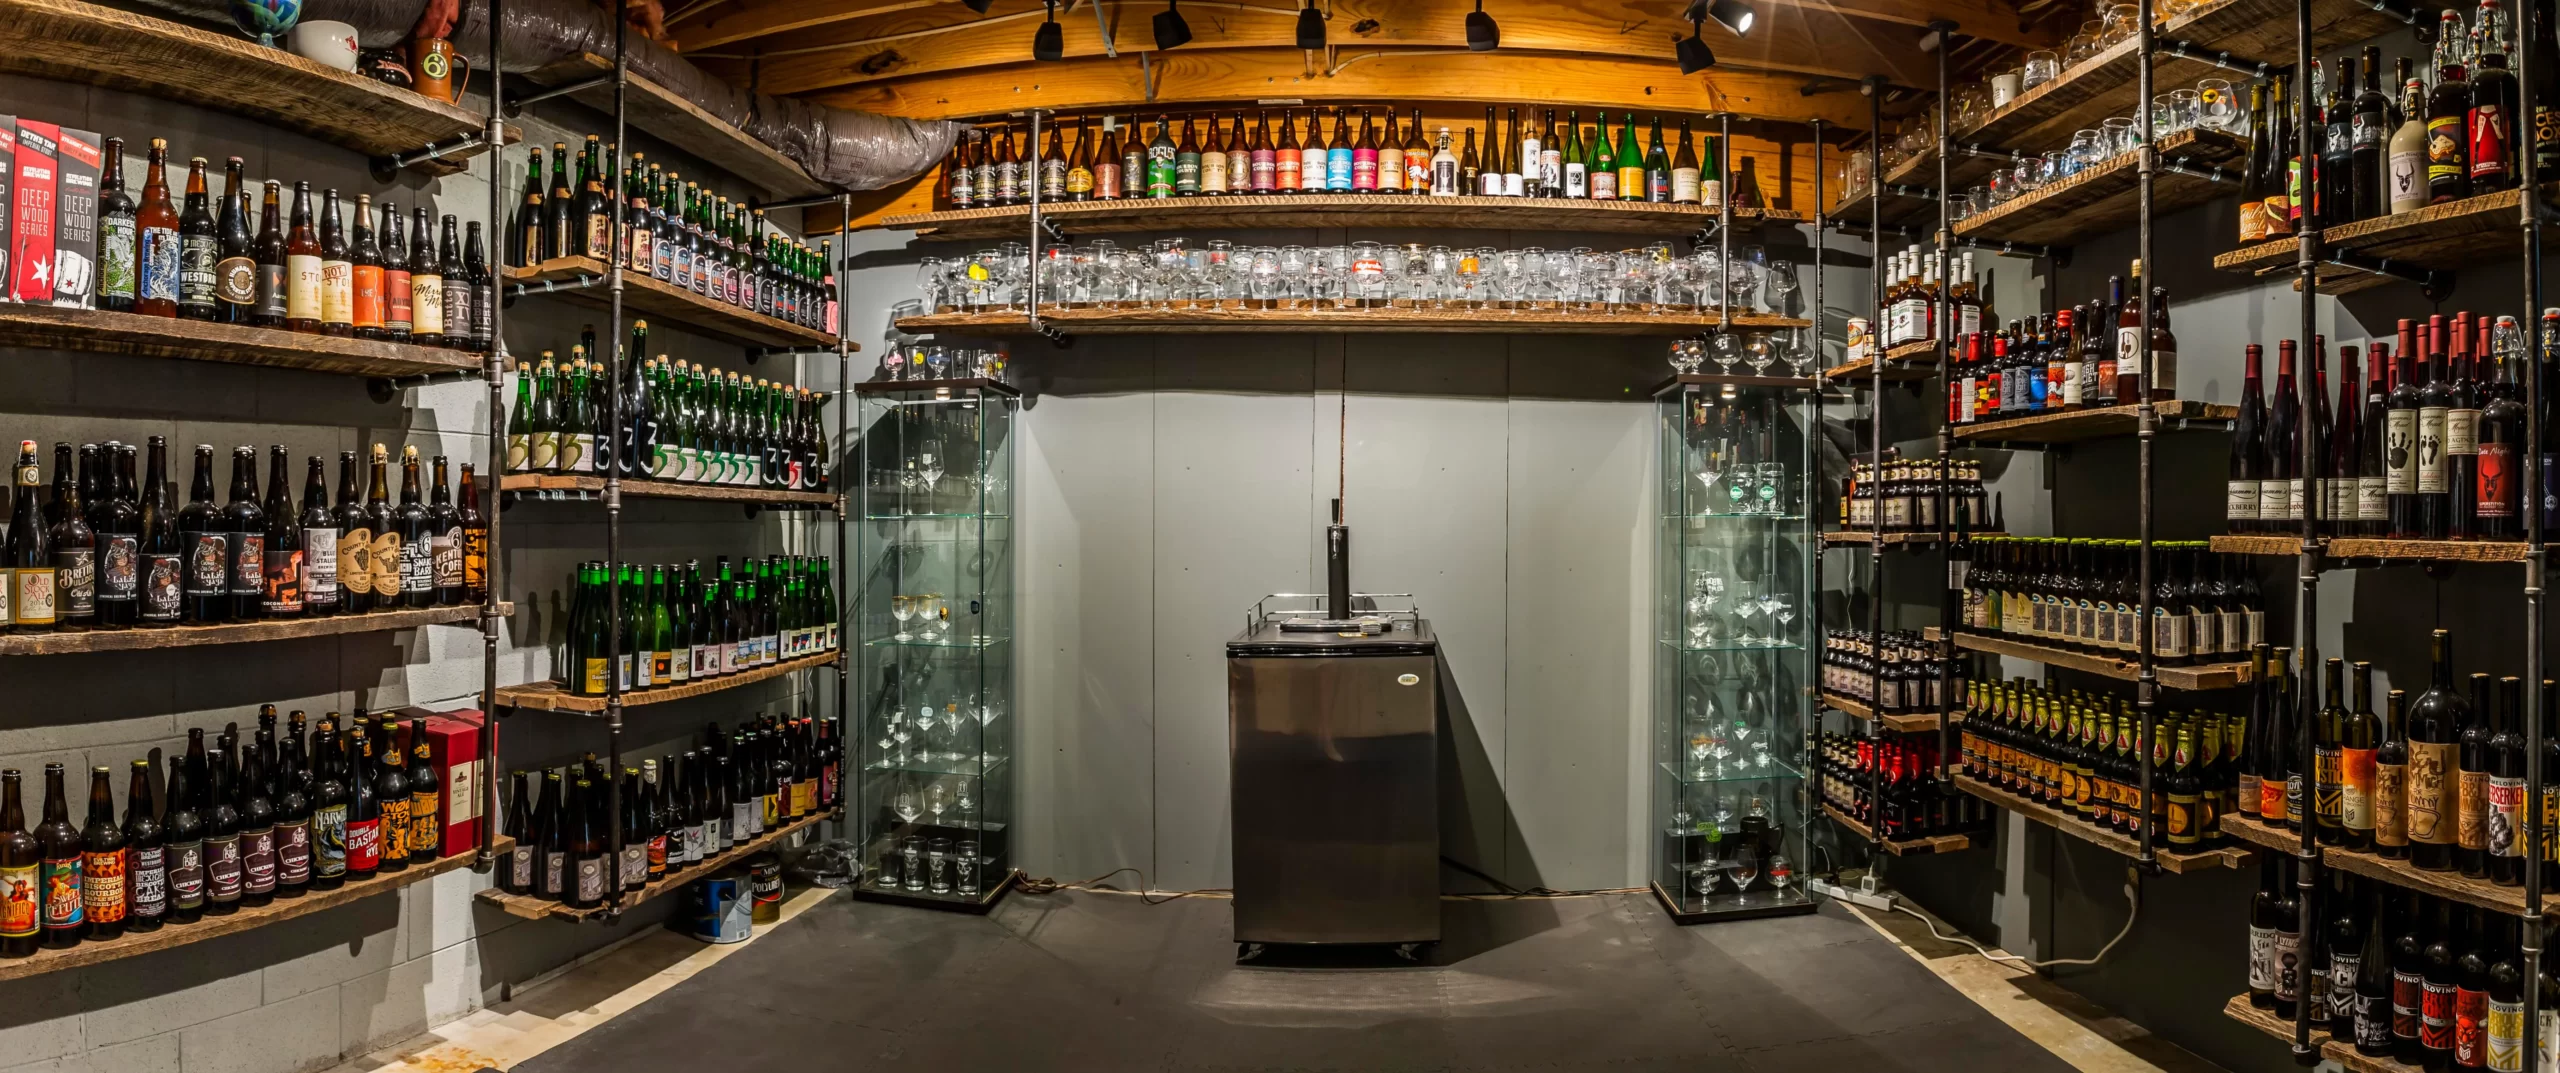
Where you build your beer cellar doesn’t have to be fancy. It can be in your basement, a pantry cabinet, a shed, or even under a staircase. Make sure that the place you choose isn’t prone to becoming crowded, isn’t directly exposed to the sun, and isn’t subject to abrupt changes in temperature between extremely cold and hot.
If you’re planning to store hundreds of beers, you might need a larger space, for example, a cave-like cellar. Beer Caves from Bus Refrigeration offers beer storage with the lowest temperature possible that’s safe for the beer type. They can provide a store-like beer cave that doubles as a massive beer cellar. But if you’re not trying to stock up a truckload of beer bottles and cans, then a little storage space will work fine for you.
Step 2: Frames
You’ll need some wood you will use for framing the walls. According to an article posted by Vinotemp, a manufacturer and seller of wine cabinets and racks for domestic and professional use, the best wood type for a cellar is redwood.
Redwood usually are sourced from the forests in North California and is known to have the capability to repel rot, pests, and mildew. Your cellar could use wood that can resist this condition. It is perfect for your storage.
Step 3: Cement Boards
After you’ve completed framing the walls and ceiling, it’s time to put on the cement board to prevent the possibility of thermal fluctuations. It’s necessary to use moist-resistant and mold-resistant for your cement board.
You can go for Hardie Backer Board for a cement board. They described their cement board and mentioned that it has a moisture damage prevention feature because of its unique cement formulation and consistent composition. You can also opt for Durock’s cement board. It’s also durable against water and mold.
Step 4: Barriers
To put another layer of security, you need to add a vapor barrier. IKO, a pioneer and industry leader in insulation, roofing, and waterproofing products, released an article about “An Introduction to Vapour Barriers and Vapour Retarders.” Using vapor barriers adds a reliable layer of water vapor preventive guard to walls and ceilings as these areas tend to rot and grow mold which perfectly works in building a cellar.
Another tip: Installing vapor barriers can be extremely challenging. It would be advisable to request further assistance for this step. Or better yet, phone in a vapor barrier contractor that does inspections and assessments before installing a vapor barrier. Professional services may be more expensive, but they are worth it for you and your storage over the long run.
Step 5: Foam
Next is spraying foam insulation to seal the walls, ceilings, and even doors.
There are so many options for spray foam out there. But the best one, as confirmed by Heritage Wine Cellars, a company that provides custom wine cellars, is the spray foam with closed cells. And in using R-19 insulation, you just need three inches of polyurethane spray foam. It is much better since it vaporizes on contact and forms like another vapor barrier.
Spraying foam insulation looks so fun to do. But if you want to ensure that you’ll have the best results, it is best to leave it up to the experts. Tom Scalisi wrote an article about “The Best Spray Foam Insulation Contractors of 2023” and recommended Dr. Energy Saver as the best provider of spray foam insulation services. They not only provide the best service but also offer eco-friendly products which have low harmful byproducts.
Step 6: Securing Hazards
Aside from environmental preventive measures, you need to secure the area where people will come in and out. This small step is crucial because it has the potential to disturb the activity of the beer’s yeast and create temperature and light instability.
Also, putting up safety signs is essential. You need to provide prohibition signs to prevent children under 18 from inside the cellar. Children can knock over the breakable bottles inside and get injured by them.
No smoking signs and flammable material caution sign is greatly needed, especially if you are planning to build a cellar outside your home. You might notice it by a few drops of liquor on the floor, and a little cigarette flicker can blow your whole storage down.
Step 7: Aesthetics
Now that all the safety precautions are in place, you can finally start designing and glamorizing your cellar.
You can start installing some tiles on the walls, which can also double as a thermal mass. Put a light so you can safely see and move around the cellar. You need to use an LED dimmable light to enable control of the brightness. Another tip: make sure the bulbs are hitting the walls so it would not directly hit the bottles and expose them.
If you have a big area for a cellar, you can even include pieces of furniture in it. You have bar stools, tasting tables, and creative decorations to display your bottles.
Step 8: Shelves
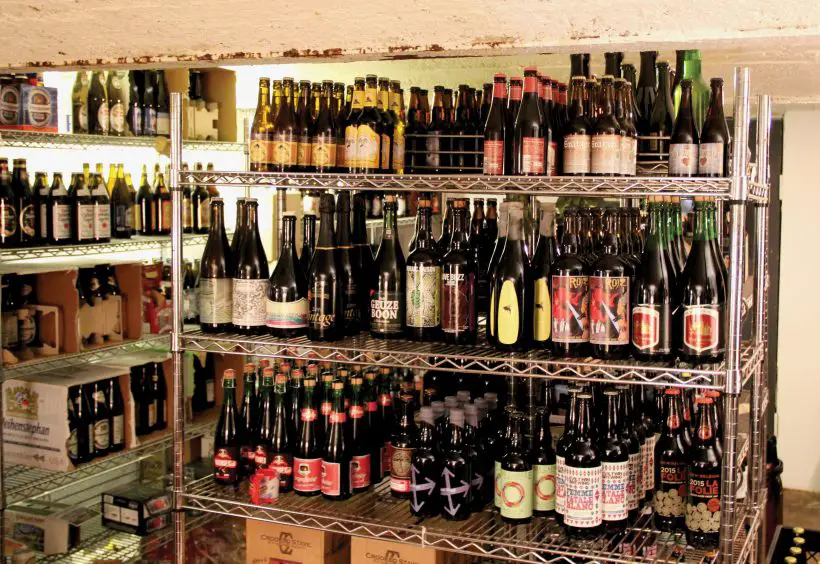
You can build sturdy beer racks from scratch and vertically place your beer bottles on them. A beer cellar doesn’t have to be an exclusive storage.
Having a wine rack with all your precious wines will do just fine with your beers and can also age nicely with them. Other liquor bottles can also join the party. You even store other pantry stuff like olive oil, sausages, salamis, and cured meats.
You can also use mahogany wood for your beer shelves. It is resistant to pests, rot, and mildew and will not give a distinct unwanted smell to your cellar. Plus, mahogany is a solid, sturdy type of wood that will keep your bottles of beer and other liquors safe.
Step 9: Aging Peacefully
It is best to arrange your beer according to its type and have them labeled with the date and time you placed them in the cellar. This method will make it easier to check which ones to drink already and which ones can continue to mature.
Keep in mind that checking your beer will take several months or years. Forgetting which ones can go spoiled will ruin the purpose of preserving them. You don’t want to wait to waste a good beer.
Conclusion
There are plenty of factors to consider, and proper planning is needed before starting a big project like building a beer cellar.
If you are not up to doing the dirty work of constructing one yourself from the ground up, you can instead store it in a dark closet, a corner of your garage, buy a dedicated fridge just for your beers, or even simply under your bed.
Just be sure to take note of the temperature and light exposure. Keep it upright and away from potential hazards too.


I am a passionate beer connoisseur with a deep appreciation for the art and science of brewing. With years of experience tasting and evaluating various beers, I love to share my opinions and insights with others and I am always eager to engage in lively discussions about my favorite beverage.