
Beer walls are an increasingly popular way to display and store beer in the home. There is only a unique way to show off your favorite craft beers other than a beer wall. But what is a beer wall, and how to make a beer wall? This step-by-step guide offers tips on how to make your own amazing at-home beer wall.
What Is A Beer Wall?
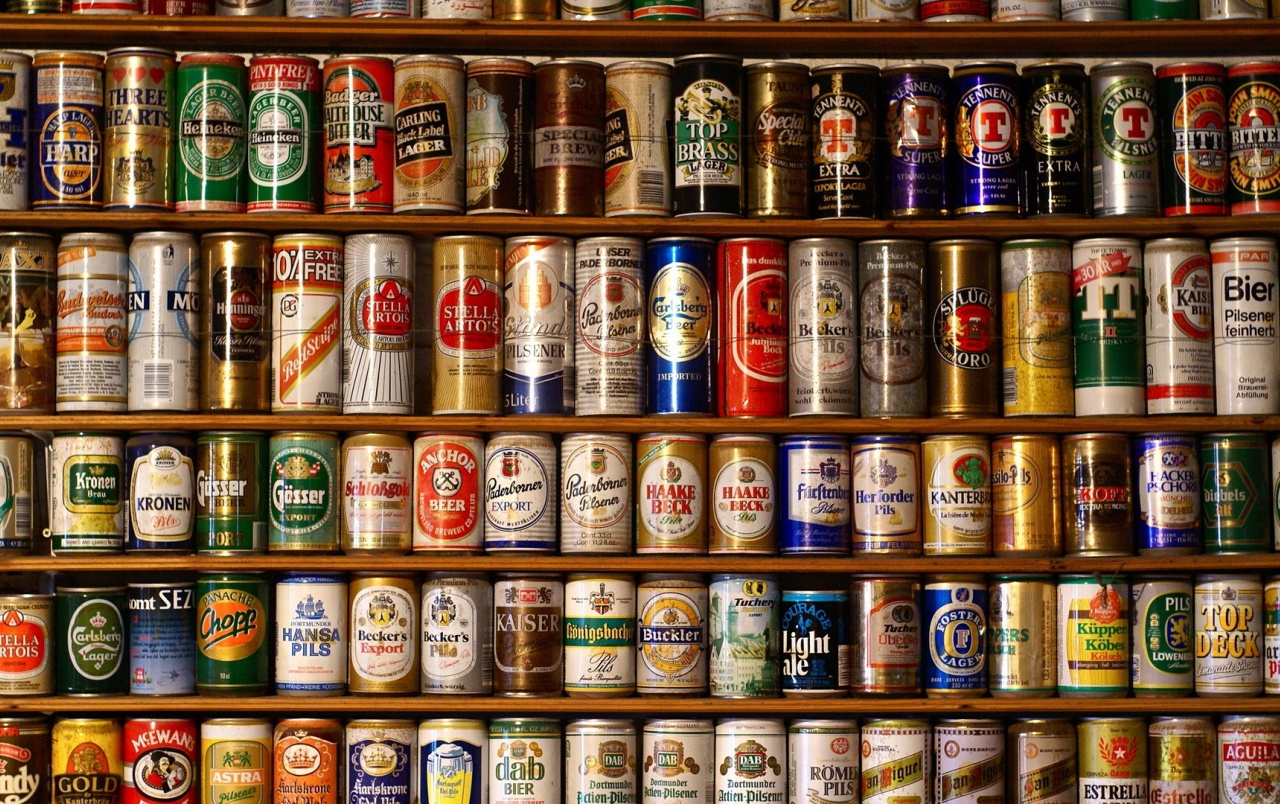
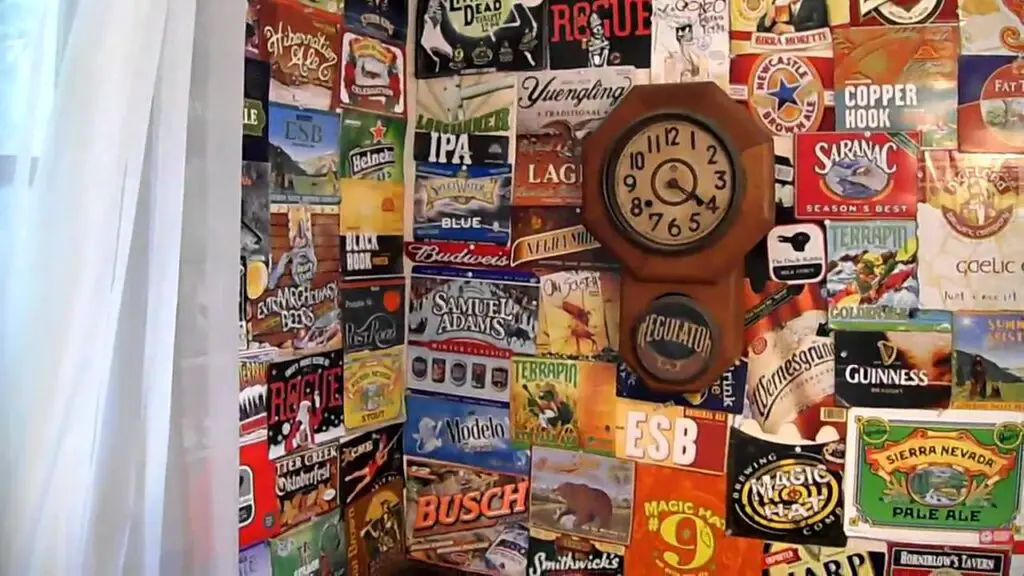
A beer wall is a creative way to store and display any collection of beers. The most common type of beer wall utilizes cans or boxes lined up side by side in neat rows. These walls are for decoration or conversation starters in any home layout – from man caves to living rooms – or in more public settings like restaurants, bars, and even breweries!
Types Of Beer Walls
Several beer walls serve different purposes, but when constructing your beer wall, two main setups work best:
- Cans
- Boxes
Can: You’ll want to start with a flat surface such as plywood or MDF board and some strong adhesive tape or glue for cans. You’ll need enough space for each can plus an inch or two between them so they don’t touch each other when hung on the wall. Once all your cans adhere securely, you can turn them on the wall using nails or screws, depending on their size and weight. And voila! You now have a fantastic DIY beer can wall!
Boxes: They are slightly different because they usually require more structural support due to their weight when filled with beer. To create this setup:
- Begin by laying out boards across two vertical frames spaced evenly apart.
- Make sure that the panels are cut at least 1/8 inch more comprehensive than the width of each box so that when stacked together, there isn’t any wiggle room – this will keep everything nice and tight for stability reasons.
- Add brackets onto each board corner so you can mount them onto the vertical frames when ready.
- Install hooks along the top edge of each post so that you can easily hang your boxes from them once stacked in place.
Other Types Of Beer Walls
- Tap Walls
A wall-mounted dispenser holds beer kegs and dispenses them through taps. These are commonly found in bars and pubs and allow customers to pour their drinks.
- Growler walls
A growler wall is a tap wall that dispenses beer into growlers and refillable glass jugs. These are becoming more popular as people seek to reduce waste and enjoy a fresh beer at home.
- Keg Walls
They are large, walk-in refrigerators that store beer kegs and dispense them through taps. These are often found in large significant such as festivals and are used to serve beer quickly and efficiently to many people.
- Modular Beer Walls
They are prefabricated walls explicitly designed for beer dispensing. These can be customized to suit the needs of a particular venue and are a popular option for bars, restaurants, and other commercial spaces.
Check out what is a Modular Design?
Benefits Of Beer Wall
There are several benefits of using a beer wall, including.
- Convenience
Beer walls provide a convenient and efficient way for customers to dispense their drinks, reducing wait times and allowing them to control the amount they pour.
- Increased Sales
These beer walls can increase sales by making it easier for customers to purchase and consume beer, especially in high-volume environments such as festivals or sports events.
- Reduced Waste
By allowing customers to dispense their drinks, beer walls can reduce the amount of waste generated by overpouring or spilling.
- Improved Customer Experience
They can provide customers with a unique and interactive experience, allowing them to explore and try the different beers at their own pace.
- Brand Exposure
Beer walls can serve as a marketing tool, providing a visible platform for breweries and brands to showcase their products and build brand recognition.
- Increased Storage Capacity
With the ability to store multiple kegs or cans in a compact and space-efficient manner, beer walls can help increase storage capacity and reduce the need for additional refrigeration units.
- Easy Maintenance
Beer walls are designed to be easy to clean and maintain, reducing the time and effort required to keep them in good working order.
How To Make A Beer Wall Step-By-Step
Whether you use cans or boxes, building a beer wall can be a fun and creative project.
Following is the step-by-step guide to help you create your beer wall:
- Gathering Supplies
To begin with, gather all the necessary supplies, including plywood or MDF board (if using cans), wood framing materials (if using boxes), screws, nails, glue or adhesive (depending on your setup), brackets (if using boxes), and hooks (if using boxes).
- Measuring The Area
Next, measure where you plan to install your beer wall. This way, you will know exactly how much material you need for construction, and the wood pieces should fit snugly together without leaving gaps for safety reasons.
- Cutting Pieces
Cut out the appropriate-sized pieces for construction, depending on whether you make a canned or boxed version. Double-check your measurements before cutting anything to ensure accuracy.
- Assembling The Units
Assemble the units according to the instructions provided based on your chosen setup. If you’re using cans, make sure they’re spaced correctly and glued down while paying attention to aesthetics and structural integrity.
If you’re using boxes, properly attach brackets along the edges, mount them onto posts or frames using anchor screws and bolts, and include hooks along the top edge so that they can be hung securely once ready for installation.
- Installing the Finished Units
Install shed units depending on your chosen setup. Canned versions can be easily hung directly onto existing walls using nails or screws due to their lightweight nature. In contrast, boxed versions may require additional braces and supports depending on the weight load they will be supporting.
- Filling With Desired Beers
Fill the beer wall with your desired beers. Open up some bottles or cans and start filling them up until you’re delighted with the results. Enjoy your new beer wall, and cheers!
Final Thoughts
Making your custom-built at-home beer wall is easier than it looks – especially with these simple step-by-step instructions on how to make a beer wall! Whether for canned varieties or framed options, there’s no limit when designing an awesome-looking display piece that doubles as decoration or storage solutions all rolled into one. Enjoy responsibly!


I am a passionate beer connoisseur with a deep appreciation for the art and science of brewing. With years of experience tasting and evaluating various beers, I love to share my opinions and insights with others and I am always eager to engage in lively discussions about my favorite beverage.