
In the event that you’re a brew devotee hoping to add imagination to your drinking experience, making your own lager hat can be a tomfoolery and remarkable venture. Whether you have a 24-pack or 12-pack of brew, or even an old lager box lying around, you can transform it into a sharp and useful lager hat.
Moreover, we’ll investigate the inventive universe of brew box Texas-style hats that make certain to dazzle your companions at your next social occasion. So, let’s get started on some easy DIY projects and make these quirky accessories!
How to Make a Lager Hat for a 24-Pack: A Fun Party Hat!

Step 1: Collect Supplies
Gather all the necessary supplies before you start the DIY project. You will need a 24-pack lager box, a pair of scissors, channel tape, and a marker.
Step 2: Cut and Measure
Begin by removing the bottom flaps of the beer box. This will ensure a snug fit for your head and make working with the box easier. Next, measure the circumference of your head and cut a strip from the top of the beer box according to your head’s size.
Step 3: Create the Hat
Take the cut strip and shape it into a circular band to form the base of your beer box hat. Secure the ends of the strip together using channel tape, ensuring a snug fit around your head. The most important part of your hat will be this.
Step 4: Add a Brim
Now, it’s time to give your beer box hat a stylish brim. Use the remaining material from the box to cut a semicircle shape. The size of the brim can vary depending on your preference – larger brims will provide more shade, while smaller ones will look sleeker. Attach the brim to the base of the hat using channel tape, ensuring it is evenly spaced and secure.
Step 5: Personalise Your Beer Box Hat
Get creative and personalize your beer box hat to showcase your unique style. Use paint, markers, or stickers to add fun designs, patterns, or even the logo of your favorite beer brand. This step allows you to make the hat truly your own and ensures you stand out at any party!
Step-by-Step Instructions to Make a 12-Pack Brew Box Hat
On the off chance that you’re searching for a tomfoolery and imaginative approach to reuse a 12-pack lager box, why not make a one-of-a-kind brew box hat? With only a couple of basic advances, you can make your own hat that is certain to be an icebreaker at your next social event. Adhere to these guidelines to make your own personal lager box hat:
Step 1: Collect Supplies
To get everything rolling, assemble the important supplies. Markers, a pair of scissors, a 12-pack beer box, and pipe tape are all you’ll need. Ensure the crate is perfect and void prior to continuing.
Step 2: Form and Cut
Flatten the beer box after carefully opening it. Then, eliminate the base folds of the container. Then, cut a strip from the top part of the container that will fit around your head easily. Check to see that the strip is wide enough to fit around your head comfortably.
Step 3: Create the Band
Shape the strip you cut from the beer box into a band that is circular and fits around your head. Cross-over the closures of the strip somewhat and use pipe tape to get them set up. Not only will the pipe tape keep the band in place, but it will also make your hat last longer.
Add a More modest Edge
To give your larger box hat a more hat-like appearance, utilize the overabundant cardboard to make a more modest crescent for the edge. Connect this half circle to the lower part of the round band utilizing pipe tape.
Get Innovating
The fun part begins now! Customize your 12-pack brew box hat to make it really your own. The hat can be embellished with designs, logos, or messages using markers, paint, or any other craft materials. Let your creativity shine through as you let your imagination run wild.
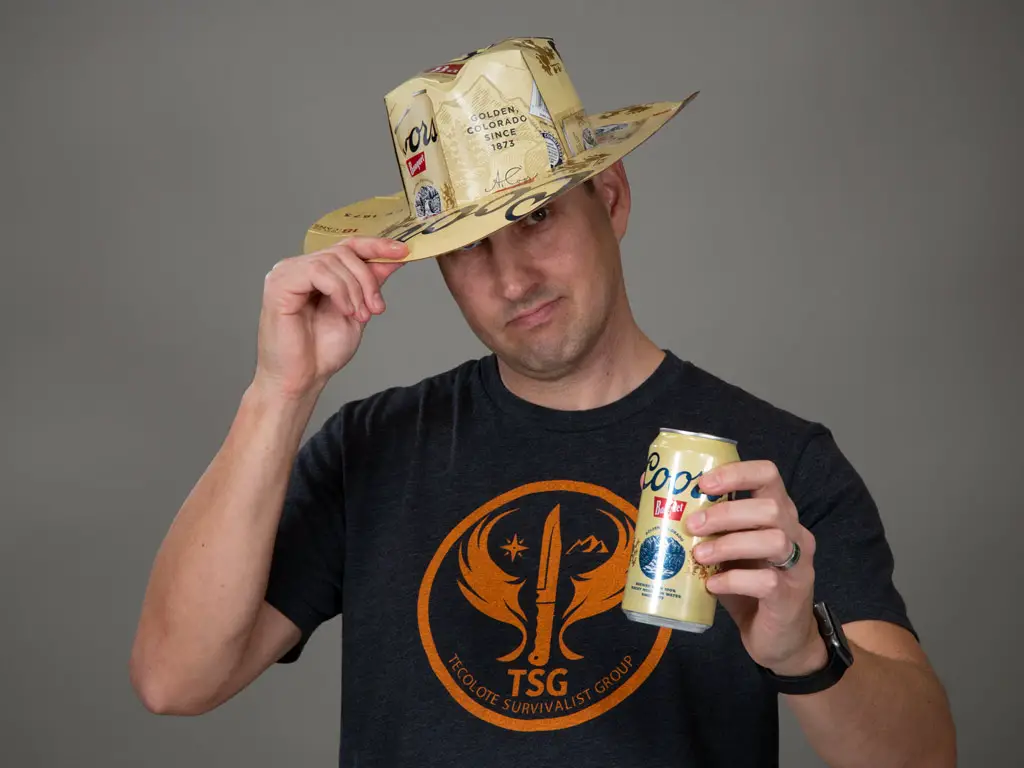
The Most effective method to Make a Brew Box Texas style Hat
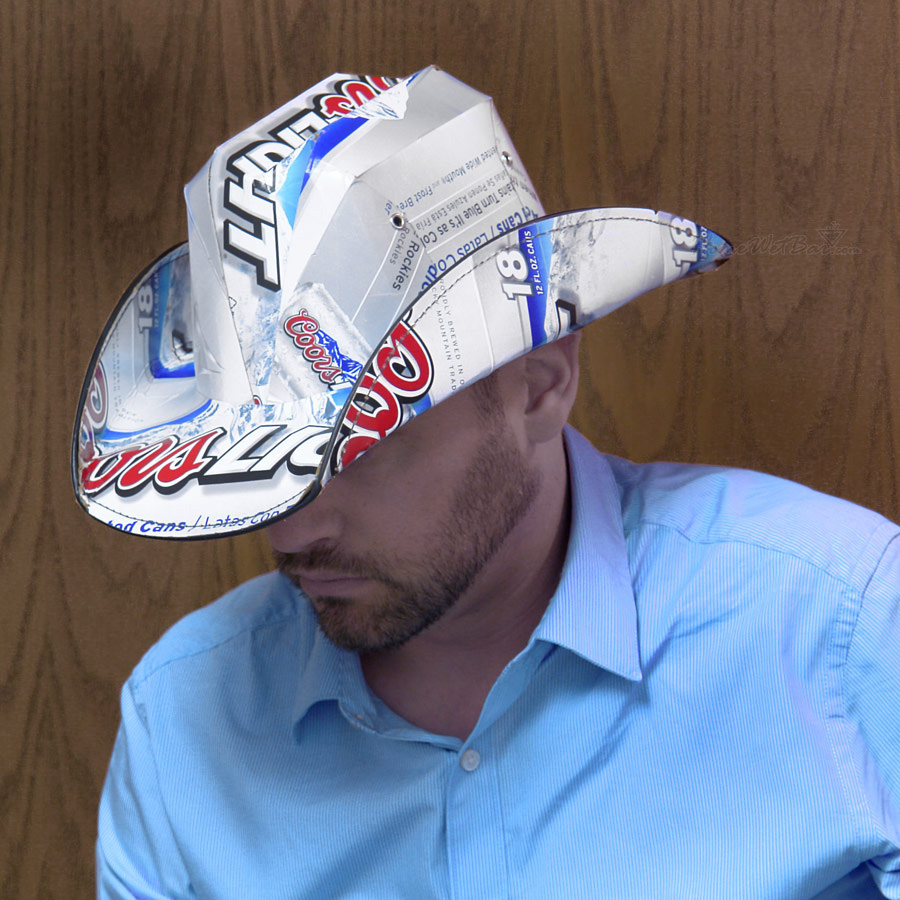
Make a one-of-a-kind beer box cowboy hat to take your beer box hat game to the next level. You can channel your inner cowboy with this awesome DIY project:
- Collect Supplies: You’ll need markers, duct tape, scissors, and a big beer box.
- Shape and Cut: Cut the box open with care and flatten it. Use a template for a cowboy hat to follow and cut the Texas-style hat shape.
- Create the Hat: The cowboy hat’s crown is made by folding and shaping the cutout and securing it with duct tape.
- Add a Span: From the remaining material, cut a larger semicircle and attach it to the crown to create the brim.
- Customise: Use markers or paint to give your larger box Texas-style hat the exemplary rancher hat look.
The Most Effective Method to Put a Rancher Hat Together with Paper
On the off chance that you don’t have a brew box accessible, you can in any case shake a rancher hat with a basic paper elective. How to do it:
- Collect Supplies: Get a huge piece of specialty paper, scissors, and markers.
- Shape and Cut: Use a template for a cowboy hat (link: Freehand draw the cowboy hat shape on the craft paper or cut it out yourself.
- Create the Hat: Form the paper cutout into a crown with care and tape the ends.
- Add a Span: To make the brim cut a larger semicircle from the paper and attach it to the crown.
- Personalise: Allow your imagination to stream by finishing your paper Texas-style hat with markers, sparkles, or some other art supplies.
Conclusion
In this way, whether you’re making a beeline for a live concert, a party, or simply partaking in some time with companions, wearing a custom-made brew hat will certainly add an additional layer of bliss and entertainment to your lager drinking experiences.
Thus, accumulate your provisions, follow the means illustrated in this aide, and prepare to dazzle everybody with your phenomenal and idiosyncratic lager hat manifestations. Beer hats that look great and are fun to make yourself are a great idea.

I am a passionate beer connoisseur with a deep appreciation for the art and science of brewing. With years of experience tasting and evaluating various beers, I love to share my opinions and insights with others and I am always eager to engage in lively discussions about my favorite beverage.